
Let’s face it! Being a woman, you need to battle facial hair constantly. Whether it is bleaching, waxing, tweezing or shaving, you are always on a lookout for something to get rid of unwanted hair growth. And when it comes to facial hair, you need to be extra sensitive while choosing any technique. So, instead of going for anything that can harm your skin in the long run, it is always better to opt some natural home remedies. DIY facial hair removal wax, which I am going to share, is a safe and inexpensive way to remove excess facial growth. Ditch your parlor-based chemical methods and try this!
INGREDIENTS
- 1 cup granulated white sugar
- 2 tablespoons water
- 1 tablespoon lemon juice
- 1 tablespoon honey
- 10 drops Roman Chamomile essential oil
ALSO READ: Karisma Kapoor Anti-Aging Diet Plan
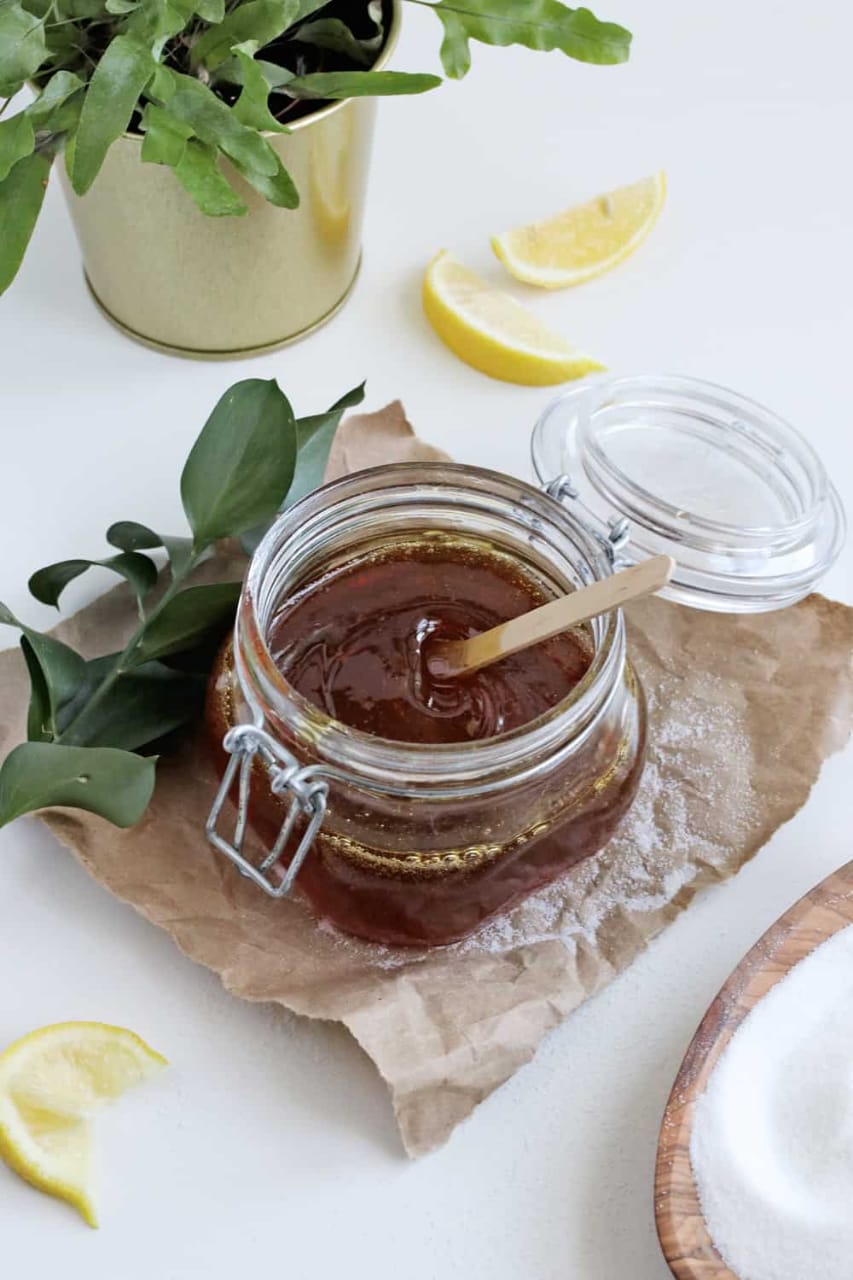
METHOD- Facial Hair Removal Wax
Place the saucepan on medium heat. Add the mentioned quantities of white sugar, honey, and lemon in it. Also, add 2 tbsp water and bring it to a boil over medium heat. Then simmer for approximately 10-15 minutes. Stir well. Once the mixture darkens and thickens, remove from heat. Allow it to cool to room temperature and add chamomile essential oil.
Use a plastic spatula to spread a thin, even layer of this mixture over the area in the direction of hair growth. Allow the mixture to cool and harden. Quickly pull the hair out in the opposite direction of growth. Repeat as needed.
Apply a clean, organic Aloe Vera gel afterward or rub an ice cube. This will reduce sensitivity and soothe the skin to a great extent. Follow up with your usual moisturizer.
Watch Video For More Clearance:
ADVICE
- Start with a clean skin & make sure your hands are washed as well.
- Make sure the wax is & stays in pliable form, but it’s not too hot to burn your skin. This is very important!
- Your wax must not be too soft or too hard. So don’t over boil it, otherwise, it will become hard just like a candy.
- Always start with a small patch of hair/skin first, ideally close to the ear, around the jawline. In case any irritation occurs, that area will be least visible. Wait at least a few minutes before moving on to the rest of the face, to make sure you know how your skin is reacting to it.
- Pull the wax off firmly & rapidly, in the opposite direction of hair growth.
- Do not wax over active acne, so you don’t risk spreading bacteria.
ALSO READ: DIY Hair Spa At Home In 5 Easy Steps
WHY THIS WORKS
SUGAR
If you have sensitive skin, sugar may be more compatible than wax. It also acts as a natural exfoliating agent. Thick sugar substrate sticks only to the hair and not the skin. It is a safe and easy way to remove hair fiber out of its root effortlessly. Thus it causes no damage to the skin.
LEMON
Lemon, works as a natural bleaching agent. It bleaches the rest of the hair while lightning the skin tone.
HONEY
Honey has many skin-saving properties. It is naturally antibacterial and rich in antioxidants. It moisturizes and helps restore the water retention in your skin.
CHAMOMILE ESSENTIAL OIL
It helps reduce irritation & inflammation. If your skin is pretty sensitive, use this to help calm & soothe it.
Say bye to the unwanted facial hair with this easy and natural technique. If you have any other home remedies to get rid of facial hair, do share with us in the comments section.